Hey! This is how a Check,Please! comic comes into being. Making a comic is a fairly long but fun process, with quite a few ups and downs. In fact, I actually made a graph that shows my emotional state during the lifespan of a comic:
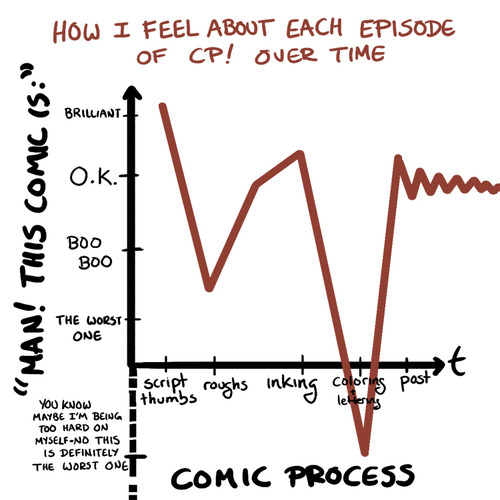
THIS HAPPENS WITHOUT FAIL. In my head there is this great, animated, sound-filled cinematic production and then I must translate it into image, like a barbarian, with these CLAW HANDS and ELECTRONIC PLASTIC SLABS!! How cruel!
No, it’s actually fine. I’m just a baby. But if you ever see me on social media, dragging my feet and hinting that you should not expect anything from the next update, I’m probably laying down flats.
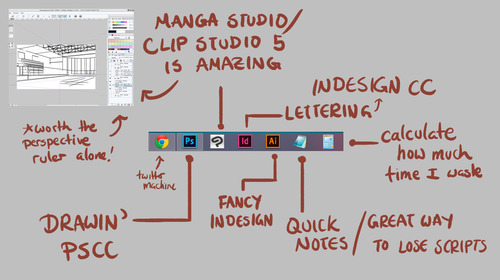
Programs I Use:
I. THE SCRIPT/THUMBNAILS
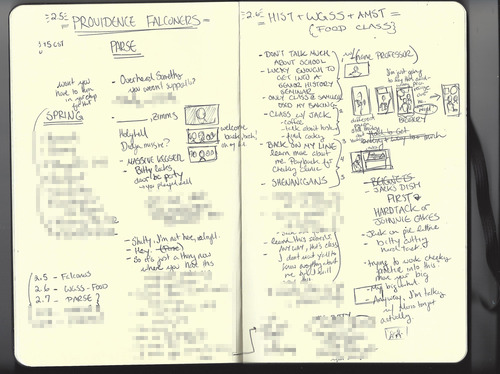
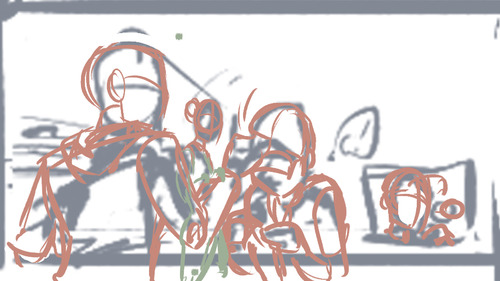
These are how the thumbnails for Comic 2.7 - Parse look. So much potential!! Spoilers!
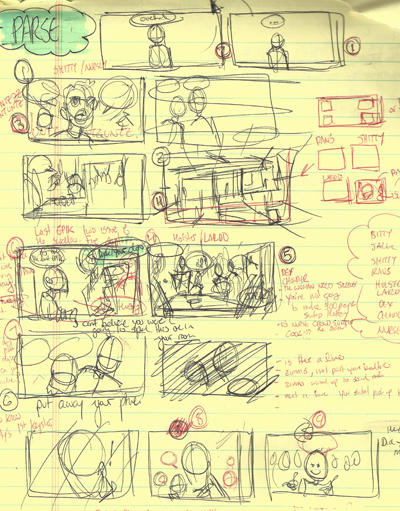
The scribblings of a madwoman! Props to you if you can figure out what’s going on, I sure can’t.
I’m weird, in that I write the script and do thumbnails for the comic at the same time? More often than not, I’ll write out dialogue and then break it into chunks for panels:
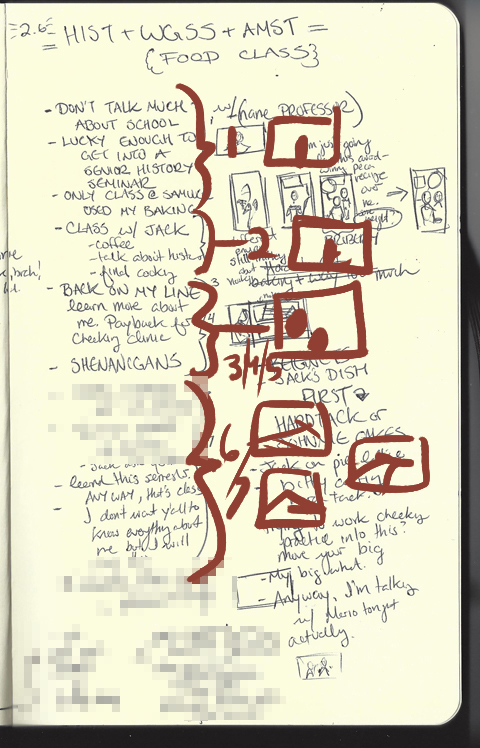
So many mosaics! …..!!! Hey you know what you shouldn’t do? Don’t write the script after you finish drawing the entire comic. I did that for most of the comics in Bitty’s spring semester (idk) and man…it stresses me out and is stupid…don’t…do it.
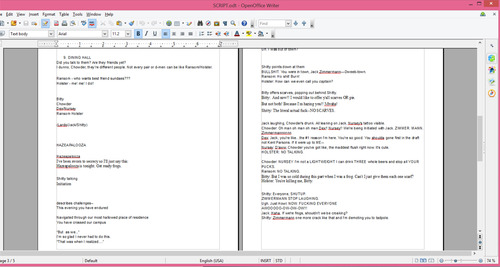
AFTER I finish the thumbnails and the rough script, then I go back and finalize the script so I can later copy/paste it into InDesign:
II. ROUGHS
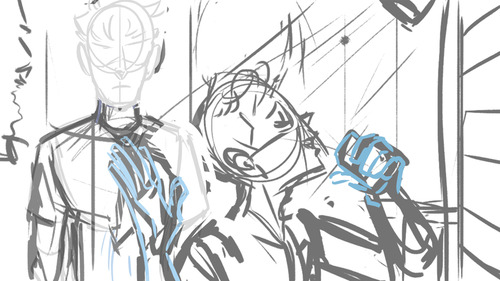
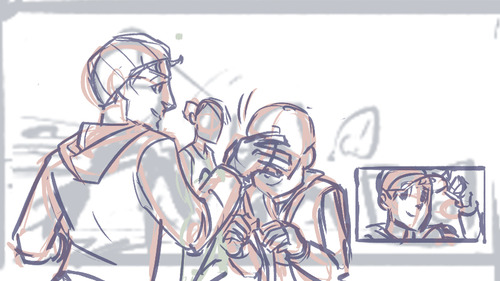
For roughs I usually draw right over my thumbnails. In the first pass I try to get the anatomy and clothing of the characters, and I sketch out the background. Then in the second pass I use a different color to draw complicated elements like hands and faces and sometimes add detail to clothing.
III. INK
AH, inking. Where it all comes together. The only thing I’ll point out about this step is that I always try to close my lines because it makes selecting areas to color so much more simple in the next step. That and I use Kyle Websters’s brushes—particularly the (Pentel) Pocket Brush 2 and the 2Smooth 2Be 4Gotten brushes.
This would be a good time to mention that I treat the foreground and background separately, most of the time.
IV. COLOR + LETTERING
I’m clumping these two together so this post won’t be insanely long. And honestly, each of these steps from thumbnailing to speech bubble placement warrants its own post, so maybe I’ll whip a few of those up eventually.
Here’s my workspace in Photoshop at this point:
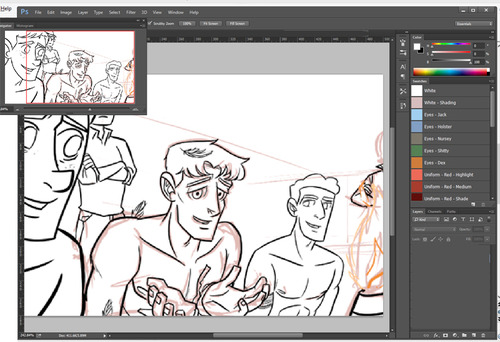
Swatches guarantee that colors are consistent from comic to comic! So like Bitty isn’t honey-blonde in one and platinum-blonde in the next. I also keep the navigator window open so I won’t have to zoom out to 100% every two minutes.
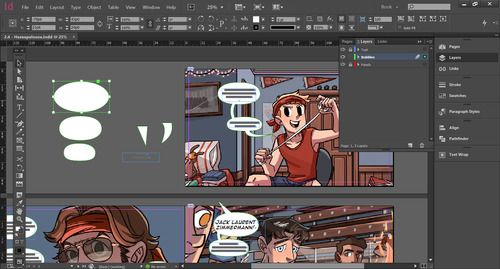
Here’s my workspace in InDesign.
But coloring and lettering are the very last steps! Check out this gif:

And then I sit around and write a blog post that demonstrates exactly how obsessive I am! Because it’s not enough for me to simply make a comic; I have to throw in world-building at every step.
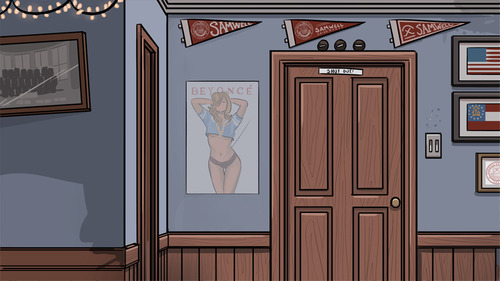
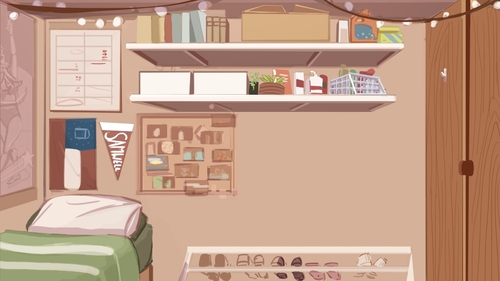
And for kicks, here’s Bitty’s frog dorm room and his sophomore year room in the Haus. One background I don’t have to redraw every comic (with the exception of S.B. cameos.)
But there you go! ‘Swawesome!